Creating and Running a Python Flask Application Using Docker
In this project, I created a simple web application using Python Flask and ran it inside a Docker container.
The application has three routes:
- Home page (
/) - Mobile page (
/mobile) - Laptop page (
/laptop)
I also created a Dockerfile to build a Docker image and run the application inside a container.
Let's go through the steps.
Step 1: Create the Flask Application
First, I created a Python file named app.py.
I used Flask to create a simple web application with three routes.
from flask import Flask

app = Flask(__name__)

@app.route("/")
def home():
    return "Hello from Home page"

@app.route("/mobile")
def mobile():
    return "Hello from mobile page"

@app.route("/laptop")
def laptop():
    return "Hello from laptop page"

if __name__ == "__main__":
    app.run(host="0.0.0.0", port=5000)
Understanding the code:
Flask(__name__)creates a Flask application.@app.route("/")defines the home page.@app.route("/mobile")defines the mobile page.@app.route("/laptop")defines the laptop page.app.run()starts the Flask application.host="0.0.0.0"allows the application to accept connections from outside the container.port=5000runs the application on port 5000 inside the container.
Step 2: Create requirements.txt
Next, I created a file named requirements.txt.
This file contains the Python packages required by the application.
requirements.txt
flask==3.1.0
Here, I specified Flask version 3.1.0 so that the same version gets installed when building the Docker image.
Step 3: Create a Dockerfile
After creating the Python application and requirements file, I created a Dockerfile.
The Dockerfile contains instructions to build an image for my Flask application.
Dockerfile
FROM python:3.12-slim

WORKDIR /app

COPY app.py /app/

COPY requirements.txt /app/

RUN pip install -r requirements.txt

CMD ["python", "app.py"]
Understanding the Dockerfile:
FROM python:3.12-slim– Uses the lightweight Python 3.12 image as the base image.WORKDIR /app– Creates and sets/appas the working directory inside the container.COPY app.py /app/– Copies the Python application into the container.COPY requirements.txt /app/– Copies the requirements file into the container.RUN pip install -r requirements.txt– Installs Flask and other dependencies listed in the requirements file.CMD ["python", "app.py"]– Runs the Flask application when the container starts.
Step 4: Build the Docker Image
Once all the required files were ready, I built a Docker image using the following command:
docker build -t flaskapp:2.0 .
Understanding the command:
docker build– Builds a Docker image.-t flaskapp:2.0– Assigns the image nameflaskappand tag2.0..– Specifies the current directory as the build context.
After executing the command, Docker started building the image using the instructions in the Dockerfile.
Step 5: Run the Docker Container
After successfully building the image, I created and started a container using:
docker run --name flaskcontainer -p 8010:5000 flaskapp:2.0
Understanding the command:
docker run– Creates and starts a container.--name flaskcontainer– Assigns the container name.-p 8010:5000– Maps port 8010 on my local machine to port 5000 inside the container.flaskapp:2.0– Specifies the image used to create the container.
Since my Flask application is running on port 5000 inside the container, I can access it through port 8010 on my local machine.
Step 6: Access the Application in the Browser
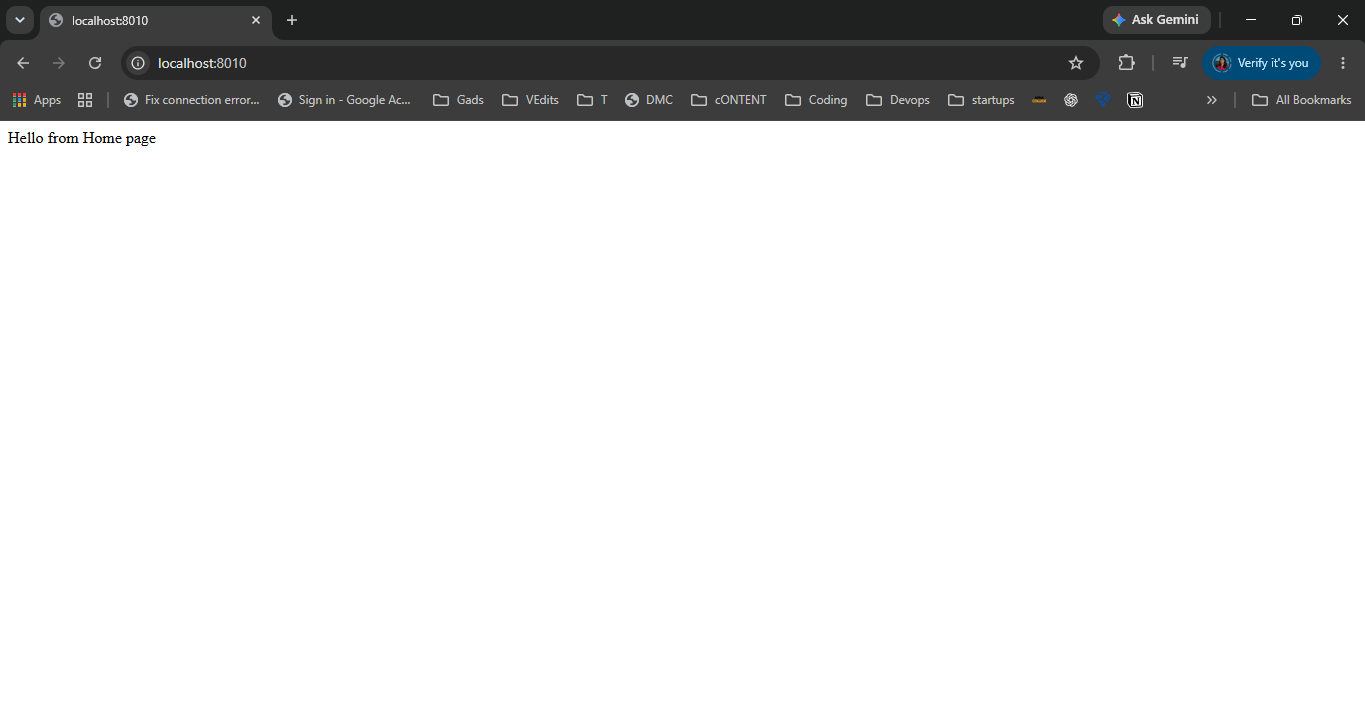
After starting the container, I opened my browser and accessed:
http://localhost:8010
The browser displayed:
Hello from Home page
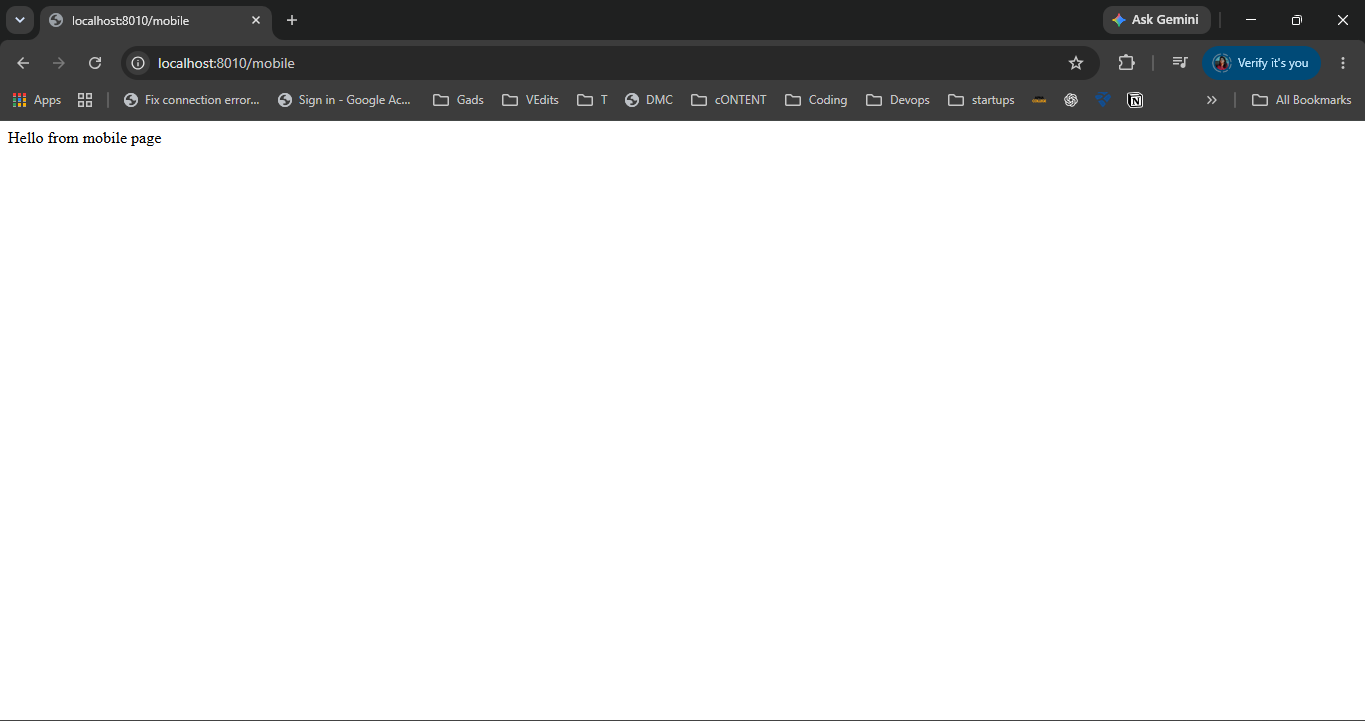
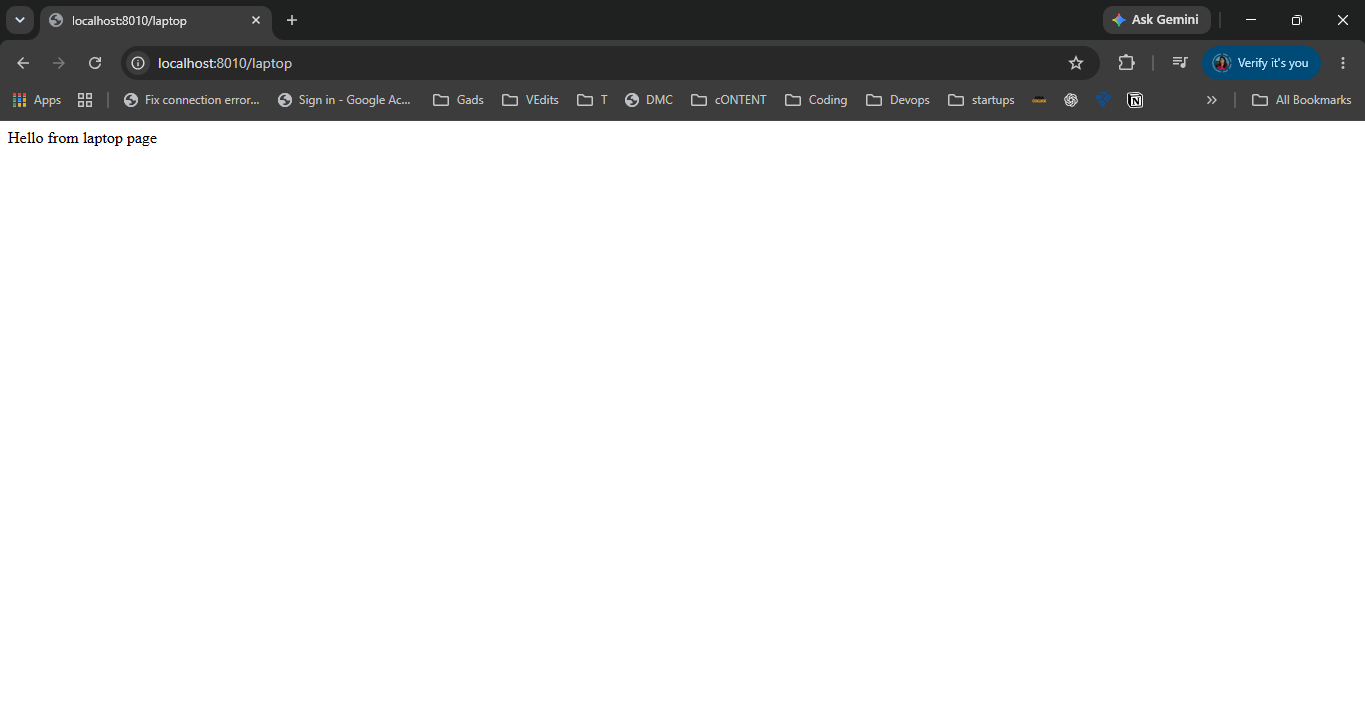
I also tested the other routes:
| URL | Expected Output |
|---|---|
| http://localhost:8010/ | Hello from Home page |
| http://localhost:8010/mobile | Hello from mobile page |
| http://localhost:8010/laptop | Hello from laptop page |
This confirmed that my Flask application was accessible through the Docker container.
Conclusion
In this project, I learned how to:
- Create a basic Python Flask application.
- Define multiple routes in Flask.
- Manage Python dependencies using
requirements.txt. - Write a Dockerfile.
- Build a Docker image.
- Create and run a Docker container.
- Map container ports to local machine ports.
- Access a containerized application through a web browser.
This was a small hands-on project that helped me understand how a Python application can be packaged into a Docker image and run inside a container.
About the author
Constant Learner
Comments
Join the discussionNo comments yet. Be the first to comment.
